Tub Surround Installation Services Overview
This page helps property owners learn about tub surround installation services and connect with local contractors who provide this work.
- - Residential homeowners seeking to upgrade or replace existing tub surrounds with professional installation services.
- - Property managers or landlords wanting reliable local contractors for tub surround upgrades across multiple units.
- - Home renovation projects that require experienced local service providers to handle tub surround installation efficiently.
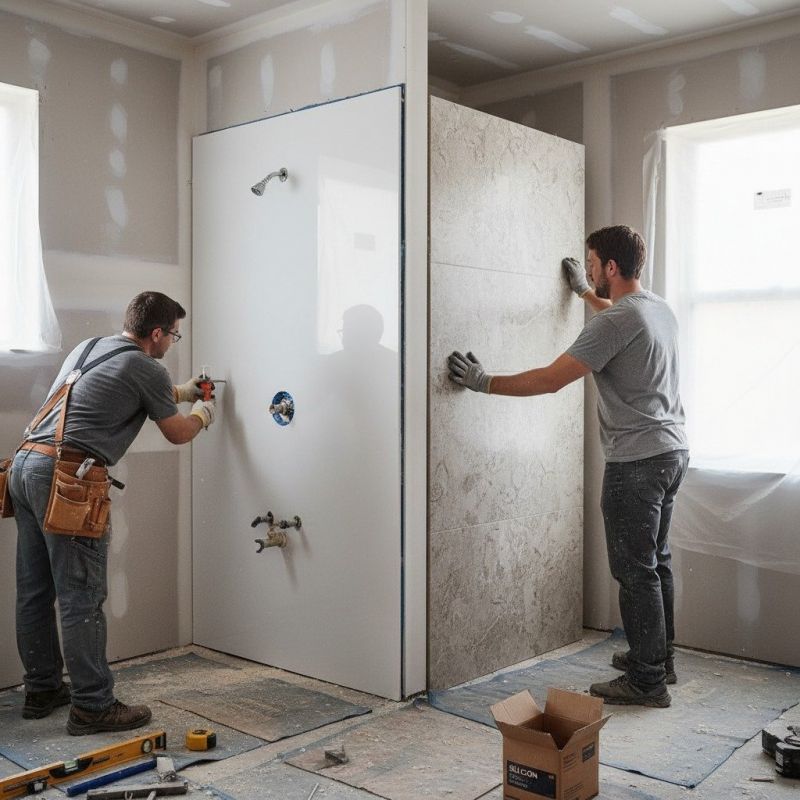
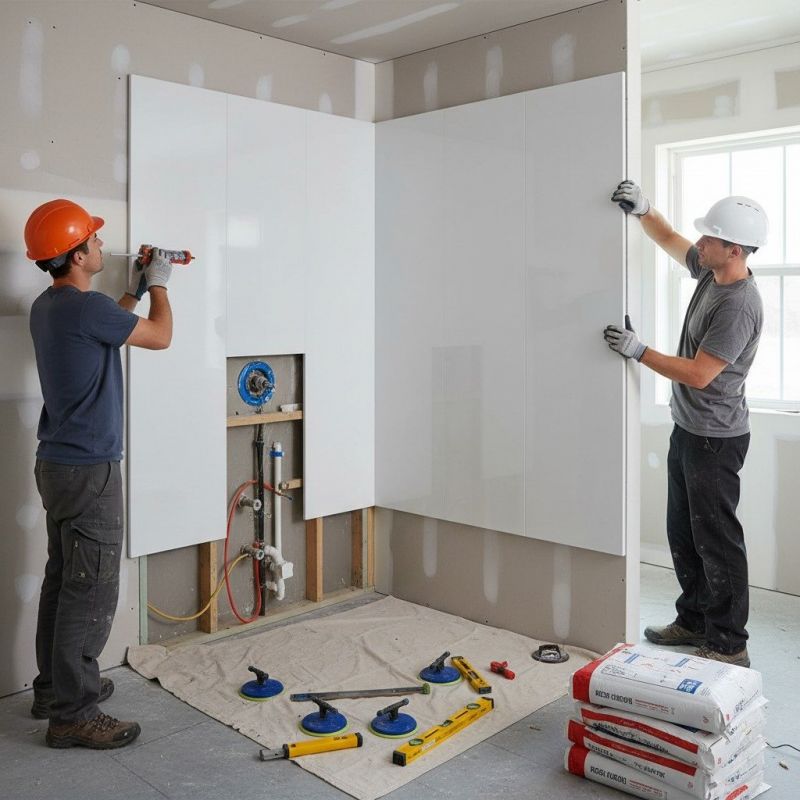
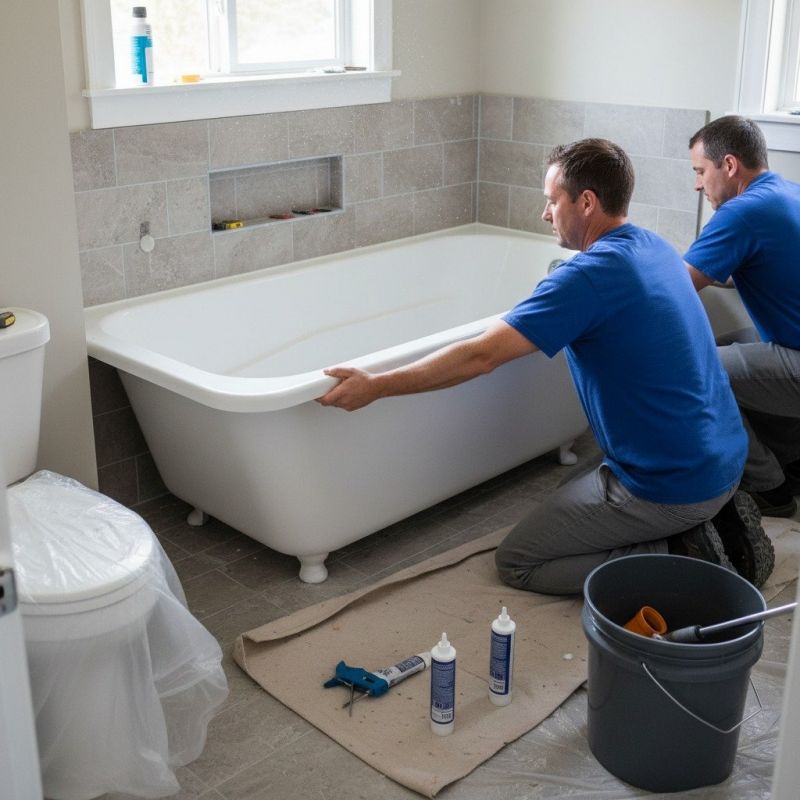
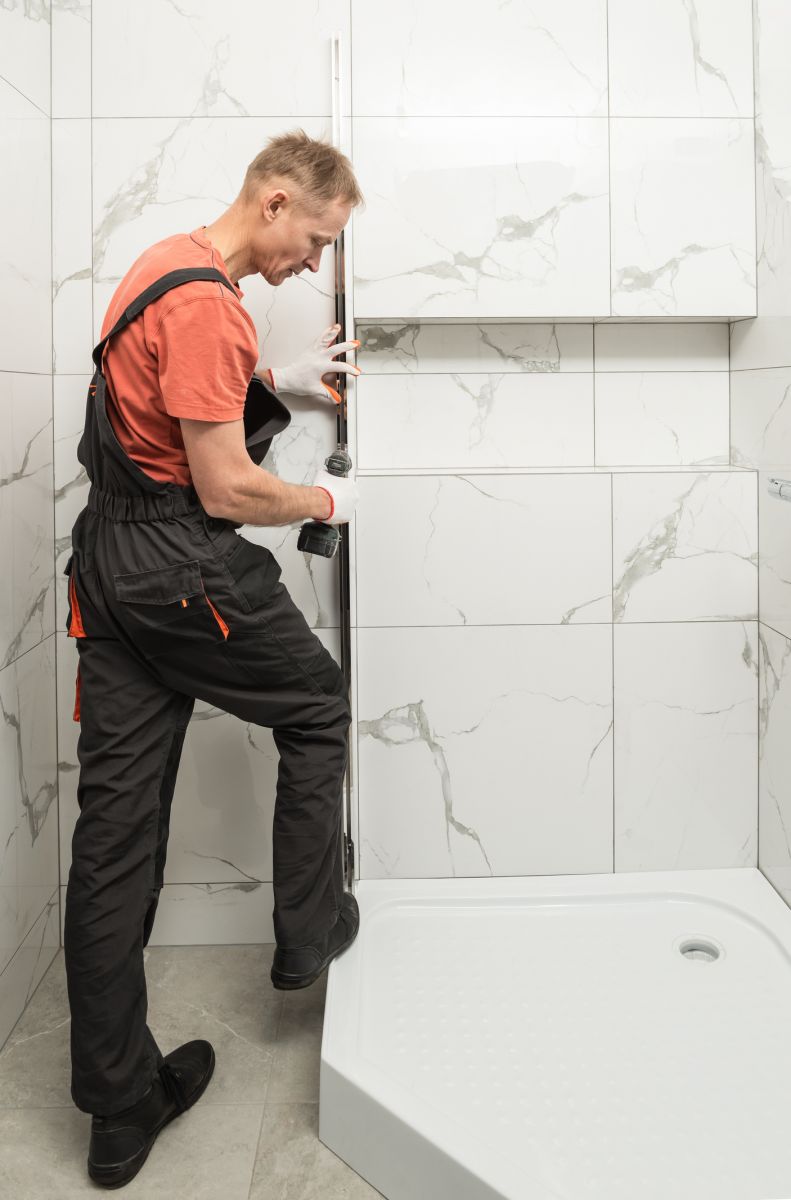
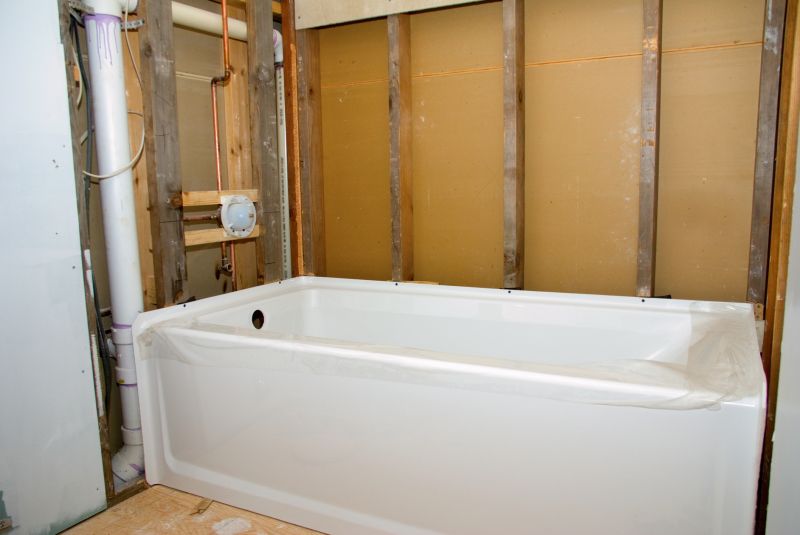
Tub surround installation services are commonly sought by property owners looking to upgrade or replace existing bathroom fixtures, enhance water resistance, or improve overall bathroom aesthetics. Local contractors who specialize in this type of work typically handle tasks such as measuring, fitting, and securely installing tub surrounds made from various materials like acrylic, fiberglass, or tile. These professionals are experienced in working within bathroom spaces, ensuring proper sealing and finishing to help prevent water damage and maintain a clean, polished appearance.
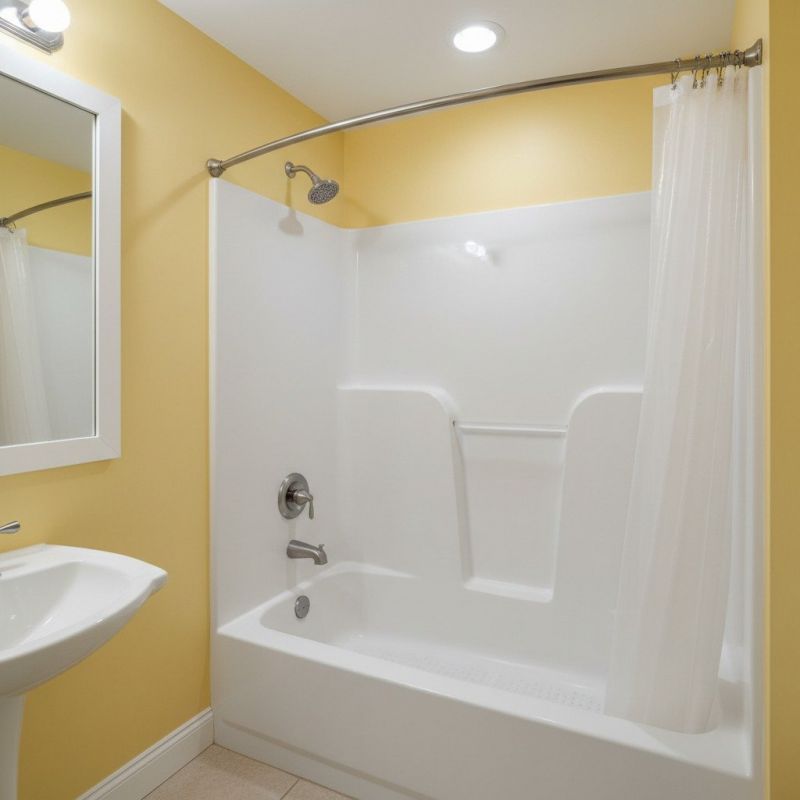
Connecting with experienced local service providers can help property owners find the right solutions for their specific needs. These contractors often offer a range of options, from straightforward installations to more customized projects, and can assist with selecting the best materials and styles. By working with local pros, property owners can expect practical advice, professional craftsmanship, and a focus on ensuring the installation meets the functional and aesthetic goals of their bathroom space.
This guide provides helpful information to understand the key aspects of tub surround installation projects. It assists in comparing local contractors and understanding the basics of what the work involves. The goal is to help visitors gather the knowledge needed to connect with qualified service providers in their area.